GHD / Harry Josh Pro Tools / T3 / Byrdie
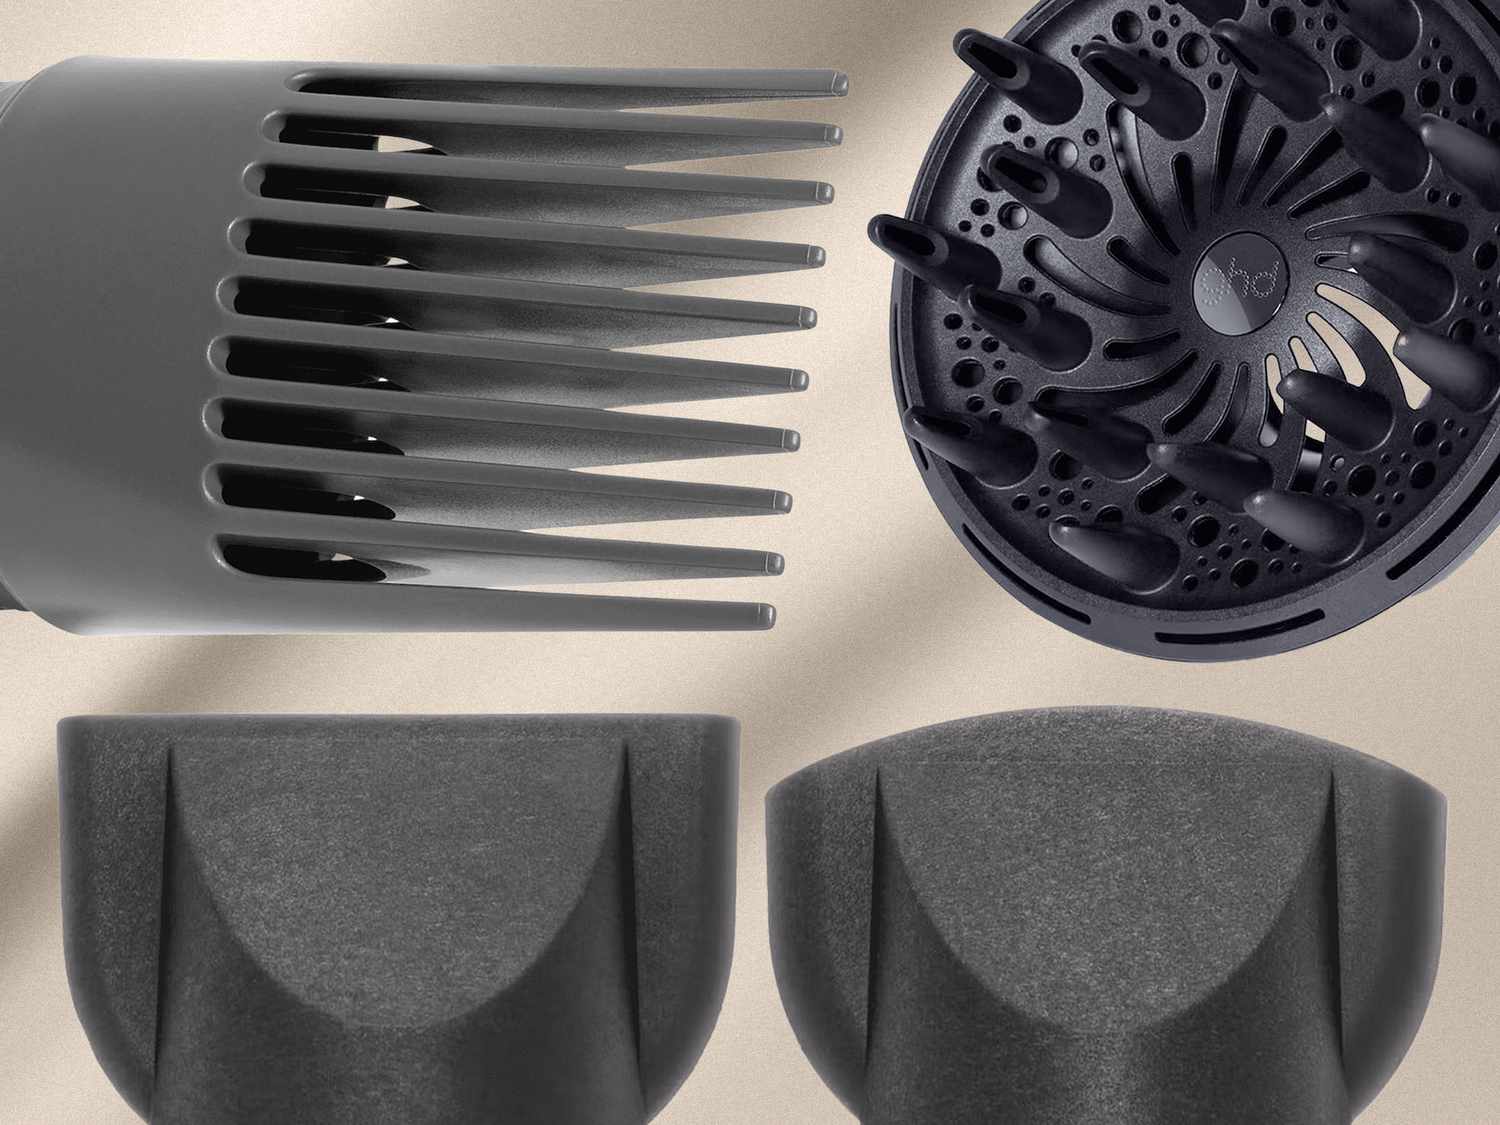
Whenever you buy an electronic tool, whether it’s a kitchen appliance or a beauty gadget, the box is filled with an assortment of unnecessary attachments. Of course, they only seem inessential if you don’t know what they’re for or how to use them. While a thorough read of the instruction manual can help, we’re all too aware of just how often those booklets get overlooked. That’s why we set out to simplify one of the most common household beauty tools—the hair dryer. Ahead, discover the three most common hair dryer attachments, plus one bonus button that deserves to be fully understood and utilized. After this quick read, you’ll look at your hair dryer in a whole new light.
Meet the Expert
- Ryan Pearl is a celebrity hairstylist and a Tangle Teezer brand ambassador.
- Rogerio Cavalcante is a hairstylist and the owner of Second Floor Salon.
01 of 04
Concentrator Nozzle
Harry Josh Pro Tools / Byrdie
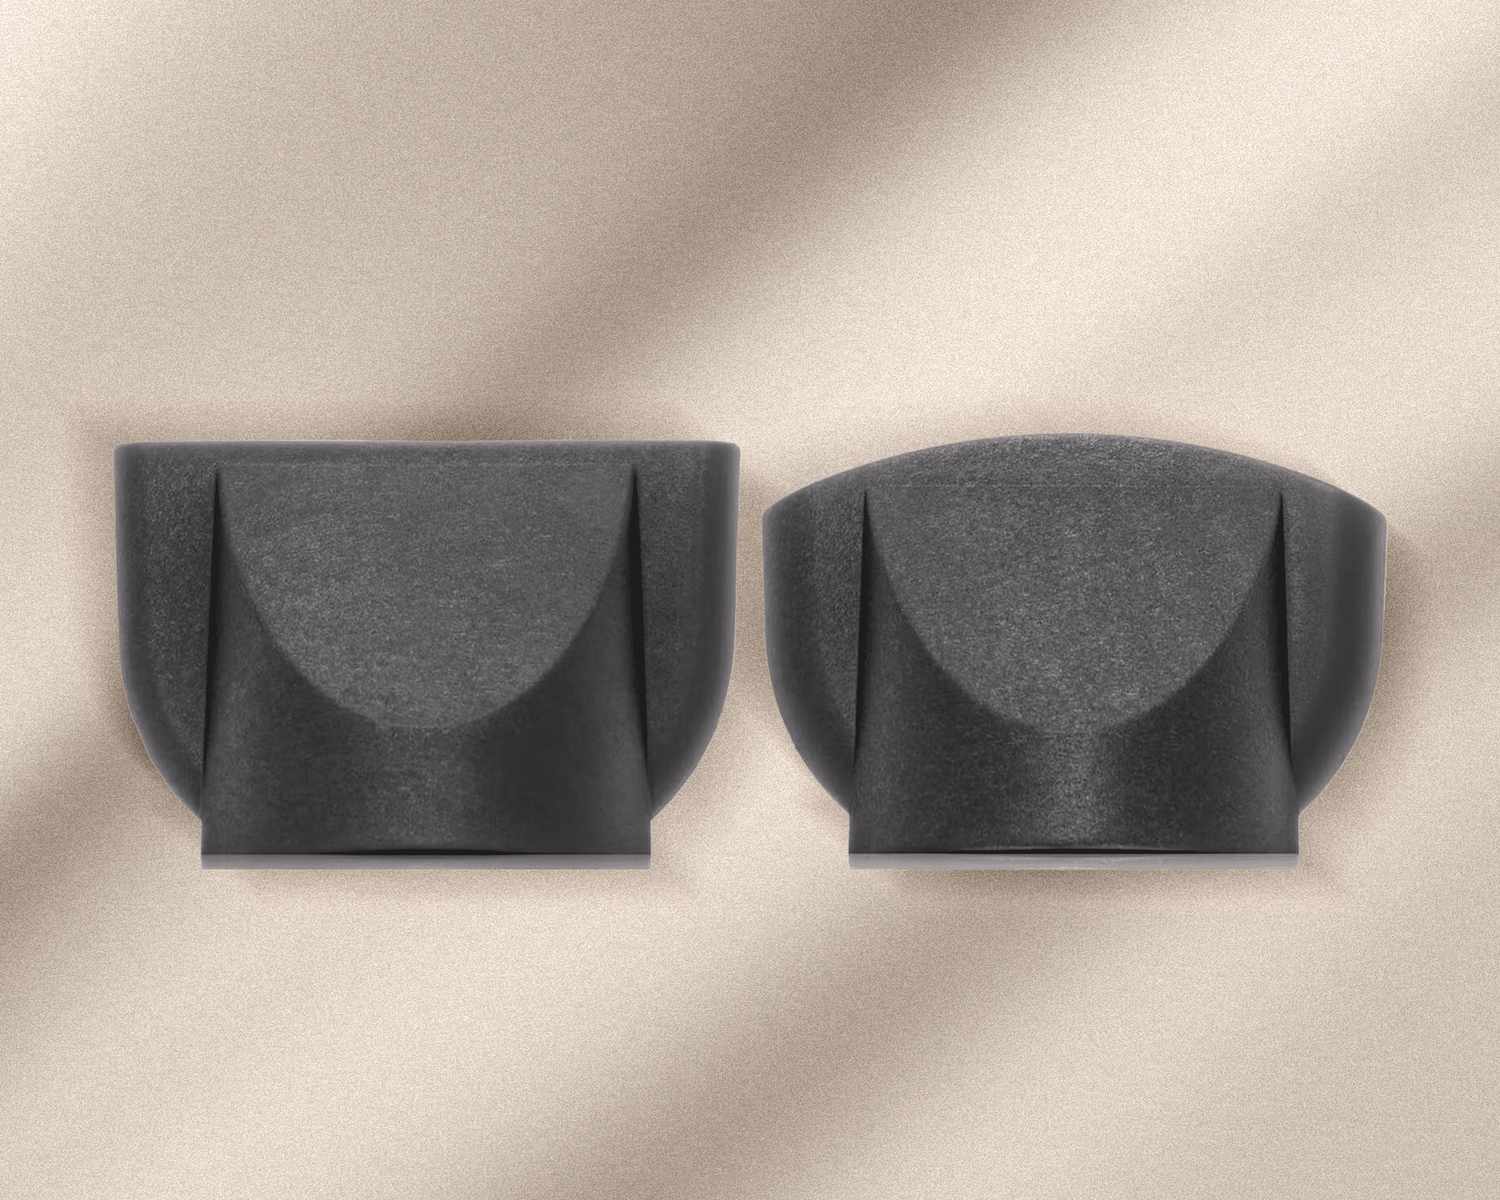
- What It Is: “A concentrator nozzle is a narrow, flat attachment that directs the airflow from the hair dryer in a focused stream,” says celebrity hairstylist and Tangle Teezer Brand Ambassador, Ryan Pearl. Similarly, hairstylist and owner of Second Floor Salon, Rogerio Cavalcante, adds that concentrator nozzles give the user more control over specific areas of hair, hence why they’re commonly used for blowouts.
- What It Does: According to Pearl, concentrator nozzles deliver streamlined drying and precise styling with smoothing benefits. “Concentrator nozzles reduce frizz by concentrating heat on specific sections and speeds up the drying process by directing airflow more effectively,” he explains.
- Who It’s For: Pearl says that all hair types—”especially those needing smoothing and styling”—can benefit from using a concentrator nozzle. “It’s particularly useful for straightening or adding volume to fine or medium hair,” he adds.
- How to Use It: Concentrator nozzles are easy to use. Attach the nozzle to the hair dryer and direct it to the section of hair you’re drying. Since the nozzle creates space between the dryer and the strands, you can get quite close without the fear of overheating your hair. For best results and the fastest dry time, Pearl suggests using a vented blow dry brush with a concentrator nozzle.
FYI: Concentrator attachments are available in various sizes. Most hair dryers come with at least two options in the box: a classic concentrator and a wider smoothing nozzle. According to Cavalcante, wide nozzles, which offer more airflow, are especially popular for medium to thick hair, as well as damaged hair. “It disperses more air, which helps avoid hair damage since the hot air isn’t as concentrated,” he explains. Pearl tacks onto this, noting that wider nozzles “provide a more even heat distribution, reducing frizz and creating a smoother finish, making it especially good for creating a polished, sleek look.”
02 of 04
Diffuser
GHD / Byrdie
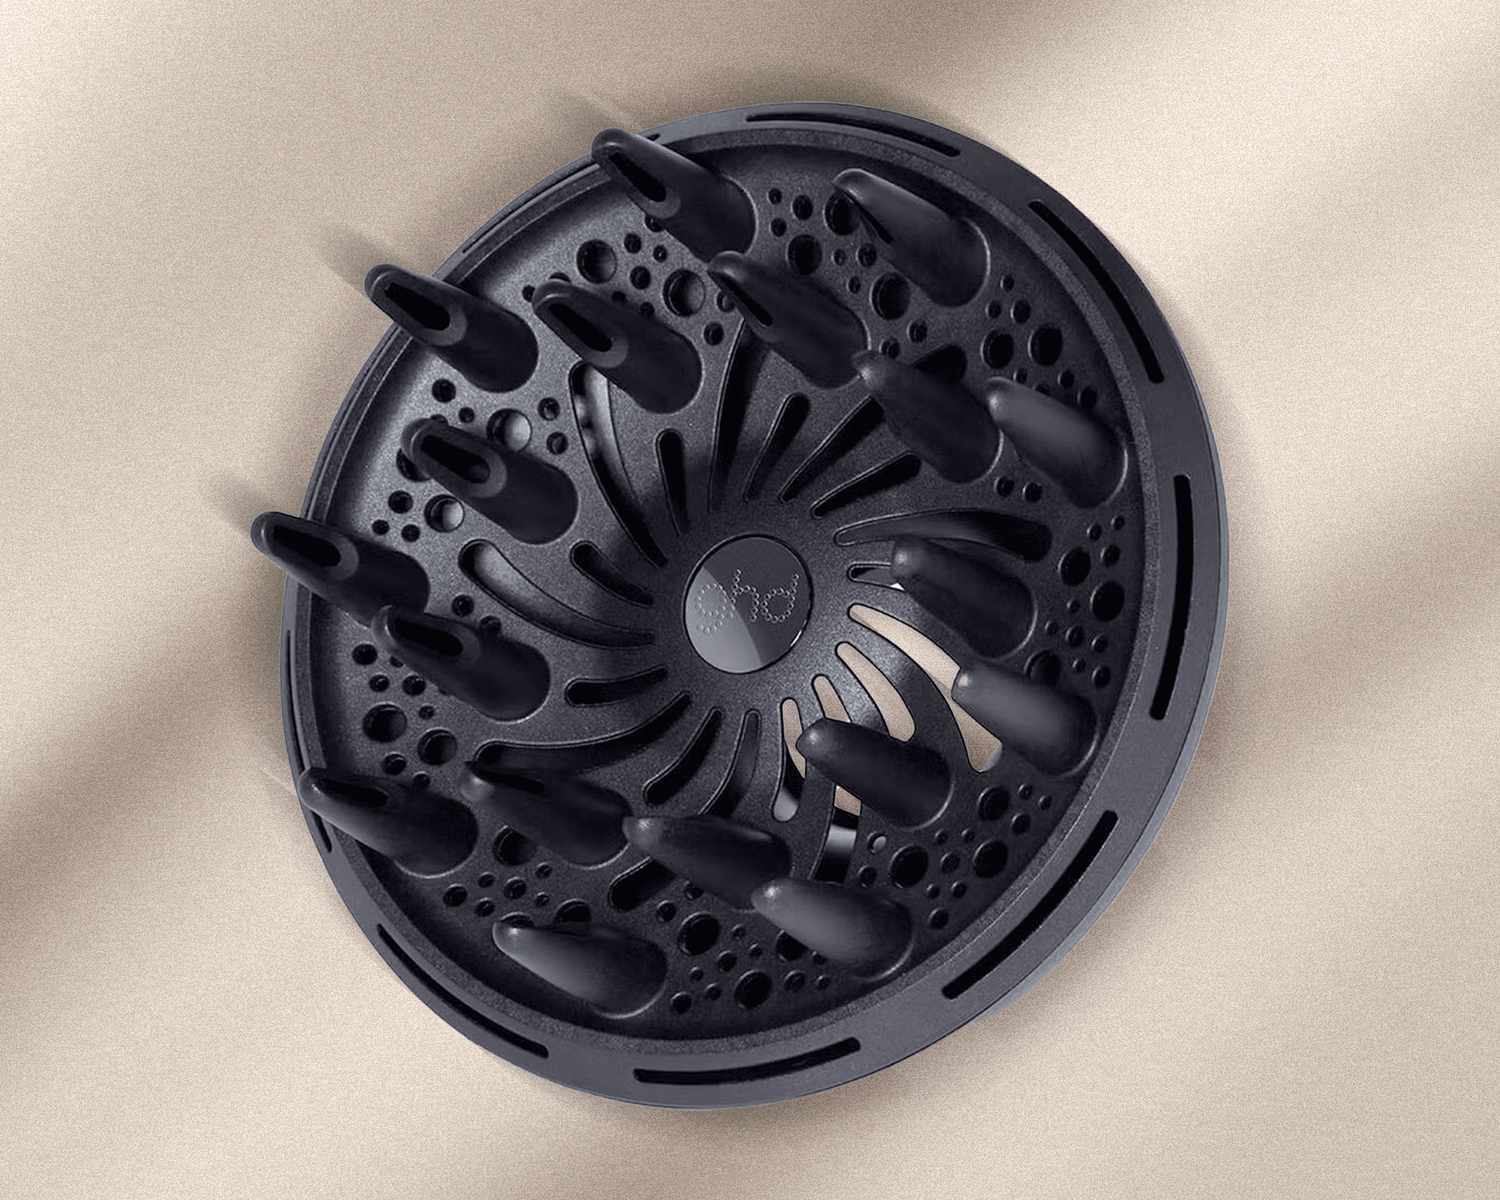
- What It Is: A diffuser is a wide circular attachment with finger-like projections that disperse airflow, Pearl explains.
- What It Does: “Diffuser attachments reduce frizz and maintain natural curl patterns,” Pearl reveals. “A diffuser dries hair evenly without disturbing the natural curl or wave pattern, adding volume and definition.”
- Who It’s For: Diffusers are a godsend for folks with curly, wavy, or textured hair types. “It’s ideal for those looking to enhance their natural curl or wave without causing frizz,” Pearl points out.
- How to Use It: Attach the diffuser to the hair dryer. “Cup sections of your hair with the diffuser, gently scrunching or patting as you dry,” Pearl instructs. It is often best to section out your hair before you begin to ensure that no strands are left behind.
Pro Tip: Hoping for shiny, luscious curls? Cavalcante has you covered. “Set the dryer to a hot heat and low to medium speed to avoid over-drying,” he instructs. “Dry your hair to about 80 to 90 percent, then let it air dry for smooth, shiny curls.”
03 of 04
Pick Attachment
T3 / Byrdie
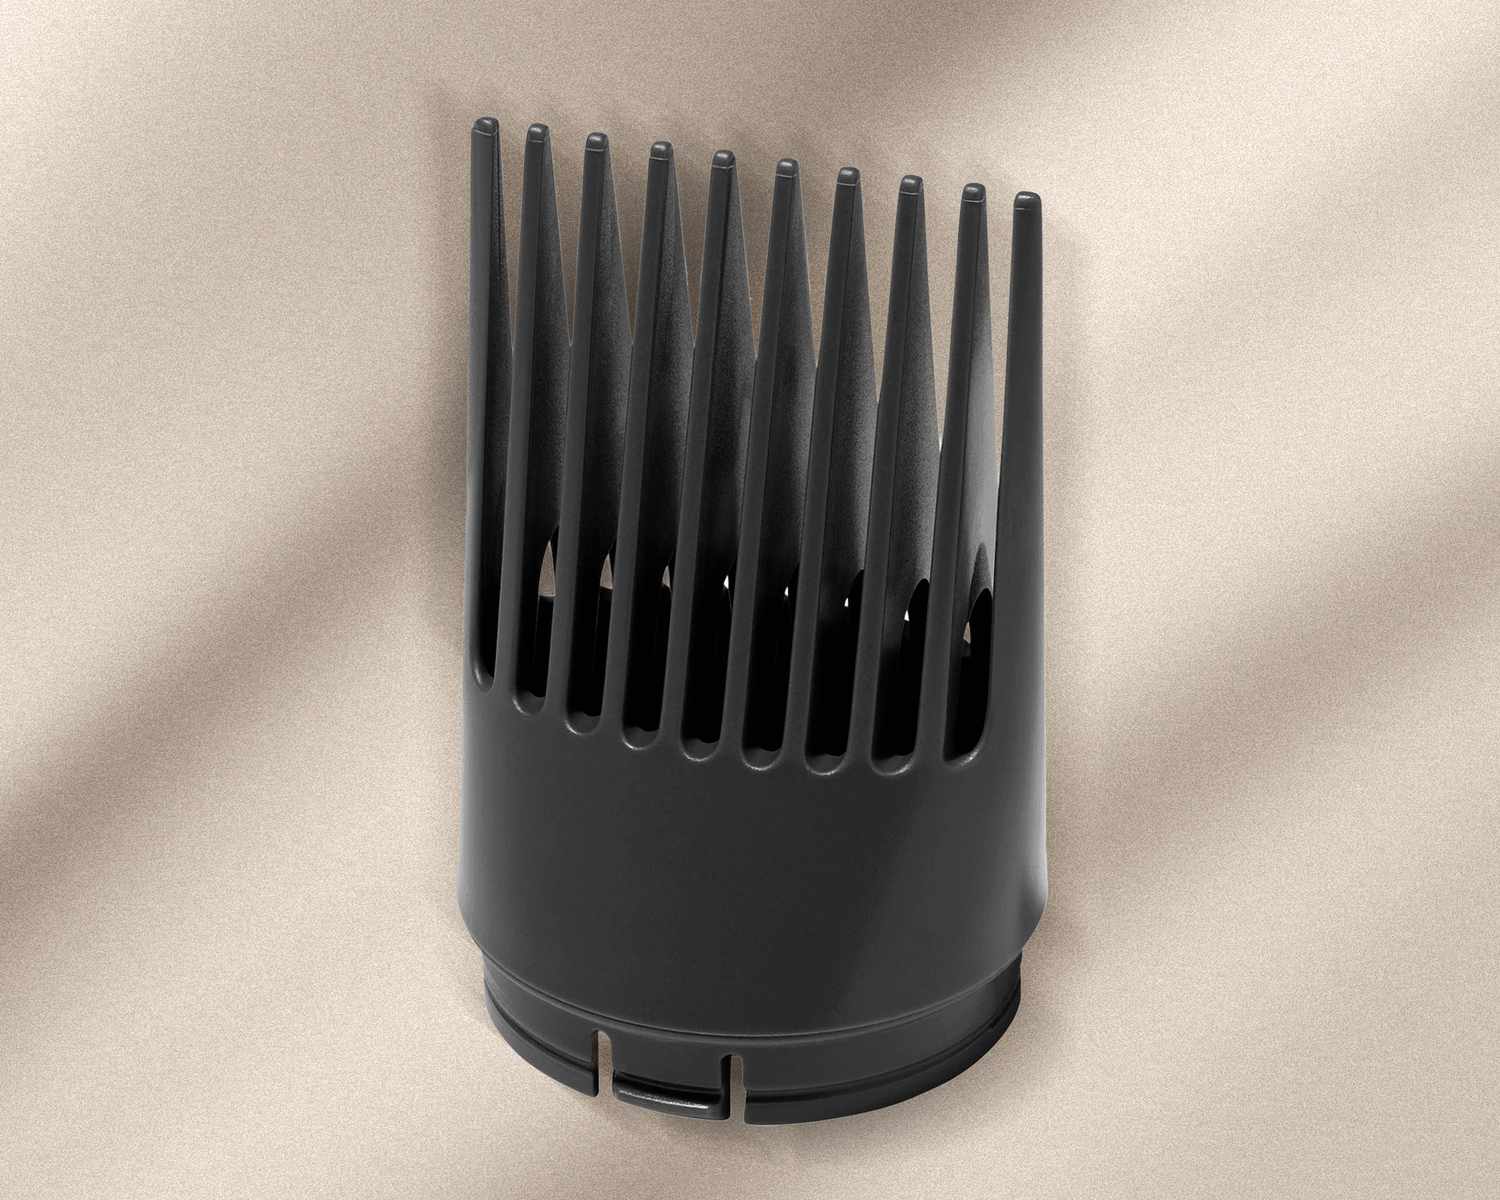
- What It Is: Also known as a smoothing comb, “a pick attachment is a wide, comb-like attachment with long, spaced teeth,” Pearl says.
- What It Does: Pick and comb attachments “effortlessly navigate through curls, rapidly drying hair while simultaneously stretching and detangling,” Cavalcante says.
- Who It’s For: Pick attachments are specifically designed for thick, curly, textured hair. “It’s useful for adding volume and defining curls or for detangling,” Pearl points out.
- How to Use It: Like any attachment, you simply click the pick into place. “Gently lift sections of your hair to add volume at the roots or comb through the hair as you dry,” Pearl instructs.
04 of 04
Cool Shot Button
Harry Josh Pro Tools / Byrdie
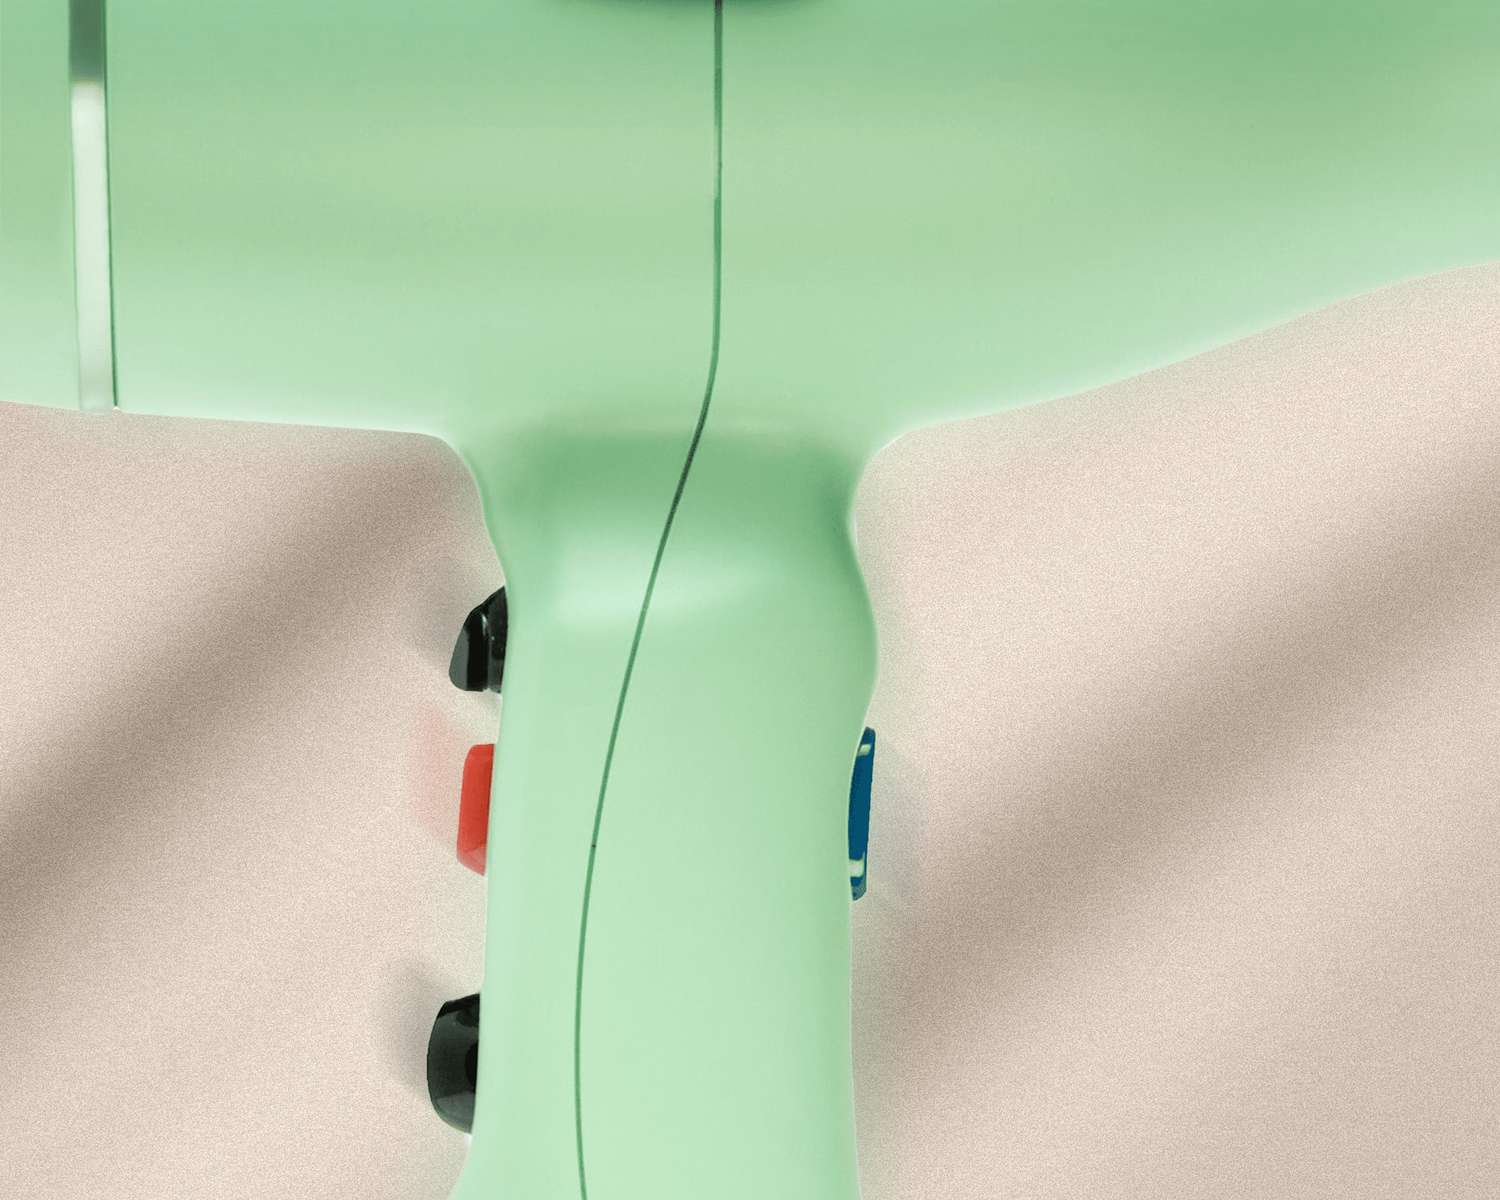
- What It Is: That blue button on your hair dryer? It releases a burst of cool air. While it may seem counterintuitive in a time crunch, the cool shot can solidify your style.
- What It Does: According to Pearl, the cool shot button is often overlooked but shouldn’t be. “It helps to set and lock in your hairstyle, reduces frizz, and can make hair shinier by sealing the hair cuticle,” he explains.
- Who It’s For: Anyone and everyone can benefit from the cool shot button. “It’s a versatile tool that helps in finalizing any style, giving a polished and long-lasting finish,” Pearl says. “Each attachment is designed to address specific styling needs and hair types, enhancing the effectiveness of your blow-drying routine.”
- How to Use It: After you finish styling your hair, blast it with the cool shot button for 15 to 30 sections to set your style. This is especially helpful when creating voluminous styles, such as blown-out bangs or air-wrapped curls.


