Trending Videos Close this video player  Photo:
Jacob Wackerhausen/Getty Images
If you’re a beauty lover, I’m sure you’re familiar with ombré hair or even ombré nails—but have you ever heard of ombré concealer?
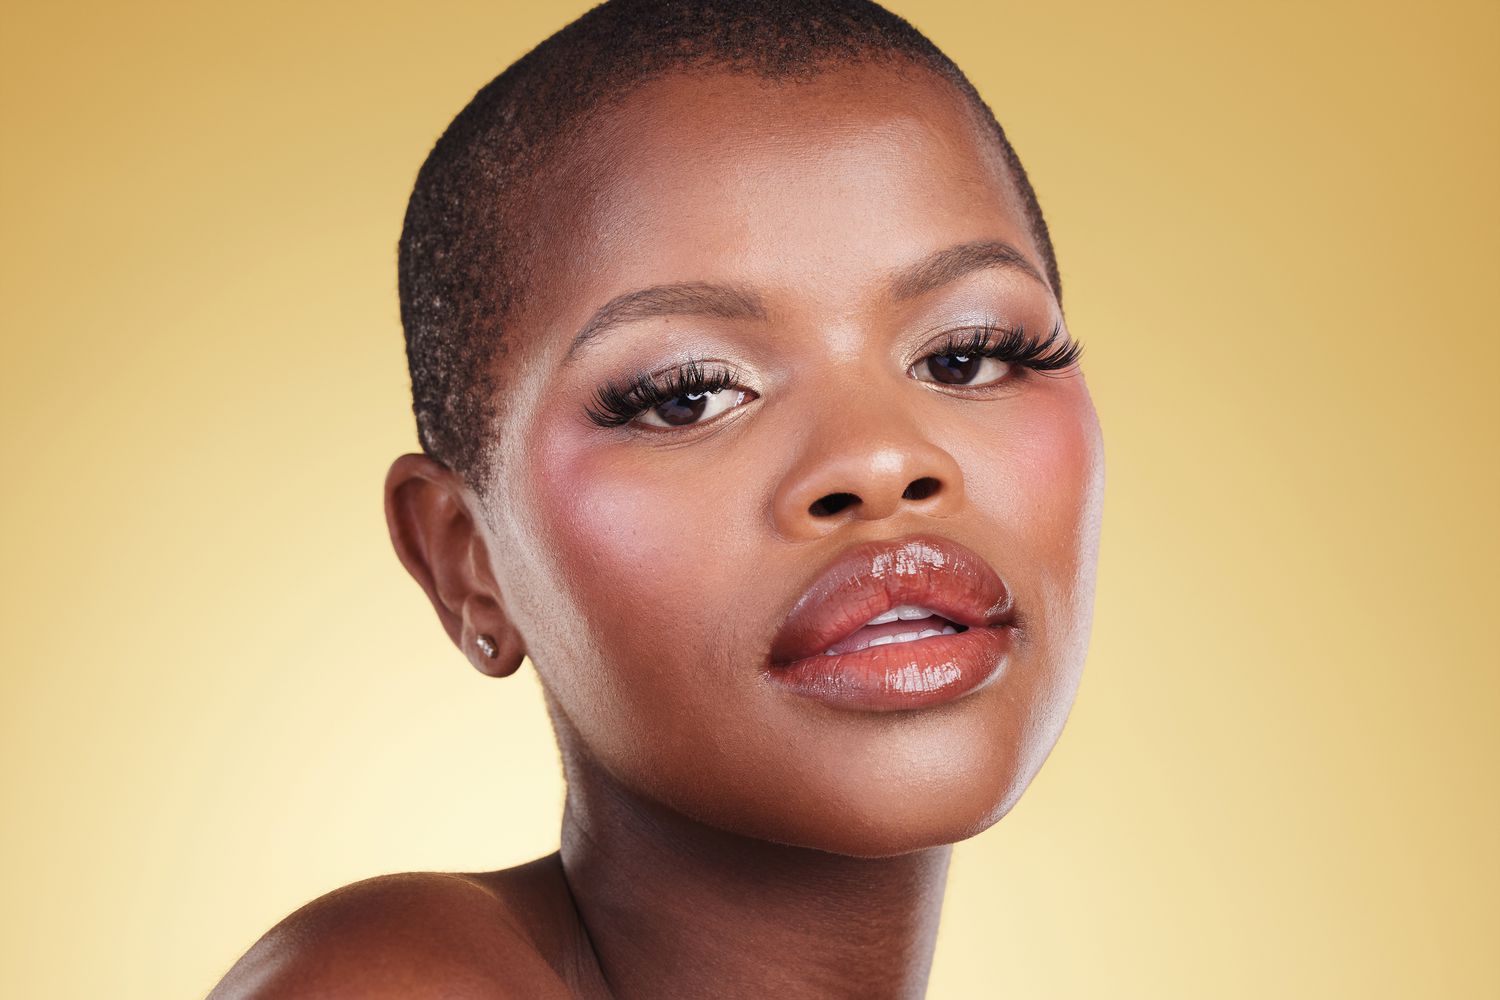
Defined by its use of multiple shades of blush and concealer, this trendy makeup technique is an avant-garde twist to the traditional under-eye coverage we’ve all adapted to our daily routines. With over 41.8M views and counting, this viral look has taken TikTok by storm, and it’s showing no signs of stopping.
“Not only does this viral application technique color correct and brighten the under-eye area, but it also creates a luminous gradient effect that is beautiful for Spring” says Sam Kyle, makeup artist at Mirabella.
Perfect for concealing skin concerns such as hyperpigmentation, dark circles, and redness, this is one TikTok trend you’ll want to give a whirl. Read on to learn more about how to achieve the look, and the must-shop products to help you perfect it, according to makeup artists.
How to Do Ombré Concealer
You don’t need to be a professional to achieve this viral look—here’s the step-by-step technique for a flawless finish, according to Kyle.
Step 1: “You will need 3 concealer shades and two blush hues to create this ombré look. I always suggest using liquid or cream concealers and blushes as it’s much easier to work with products that have the same formula type when trying to blend them together for a seamless finish. Start by applying a concealer that is 2 to 3 shades lighter than your foundation to the inner corner of the under-eye, making a circular dot shape about the size of a pea.”
Step 2: “Next, using a concealer one shade lighter than your foundation, make another dot moving toward the center of the under-eye. Then, make one more final dab of concealer in the center of the under-eye in a shade that closely matches your foundation.”
Step 3: “Starting with a lighter shade of pink blush, apply a dot directly following the darkest concealer and then finish by applying the darker blush hue directly under the outer corner of the eye. You will be able to see the ombre effect visually at this point as the shades appear lightest to darkest on your face.” In case you’re in the market for blush, we love Urban Decay Hydromaniac Dewy Liquid Blush thanks to its dewy finish and 24-hour hydration.
Step 4: “Once all of the shades are applied, it's time to start blending! Using your favorite blender sponge or brush, start at the inner corner of the under-eye and blend out towards the sides of the face, in the same order as you applied the products.”
Pro tip: Ensure you always save the darkest blush shade for last, blending out towards the sides of the face. It's important to blend until there's a blurred-line effect for a seamless integration of the different colors. If necessary, soften any harsh lines by using a damp makeup blender to finish the look.
Step 5: “Once everything is blended, set the under-eye area with a translucent setting powder, like Mirabella’s HD Perfecting Powder.” If you want a bolder look, try using a powder blush on the outer corner of the under-eyes to finish off the look for a bit more of a color contrast.

